- Home Page
- Windows & Doors
- Window Well Covers
Window well covers
These window well covers were a honey-do project I took on and I thought I might share them with you in case you felt like making a set of your own.
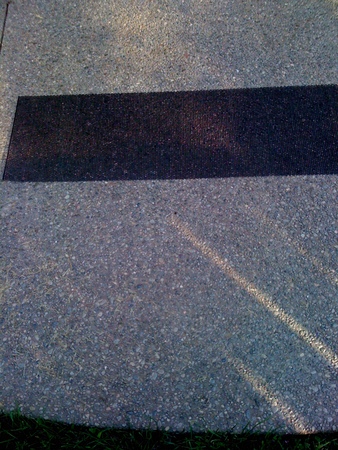
The are made from black epoxy coated 0.040" thick perforated aluminum sheet which is a nice departure from the usual plastic bubbles or galvanized steel covers.
And of course it still looks a bit like screen material which is something you know I am comfortable working with.
Window well covers are intended to keep out leaves, so dont go standing on them because they not intended to carry any weight.

I started with the window well above which was old, bent and just plain ugly. In addition I had to clean leaves out of it all the time. Time to cover it up with something nicer looking.
I have access to perforated aluminum sheet which does not rust, and I figured the black color would cover up a lot of ugly looking framework.

This sophisticated piece of equipment is my bending table. Its just two old conference tables, one inverted and laid on top of the other. The aluminum material gets sandwiched between the two table tops. The sharp edges of the table are great for making 90 degree bends.
I found a use for my old LP album collection, they provide extra weight to hold the material flat while its being bent. The 2 old c clamps hold the table tops together and the rubber mallet is what I use to do the actual bending without marking the nice black finish on the window well covers.

The first step is to get the flat piece of aluminum laid on the table. Then I pull the top table over top of the material for the window well covers to sandwich it and hold it flat

To set up the first bend I aligned the edges of the table tops and let the aluminum sheet stick out. I then measured how far the aluminum stuck out on until the dimension was the same on both the left and right hand side. In this case the bend was going to be 3/4 inch from the edge. After everything was nice and straight I used the C-Clamps to clamp the two table tops together so they wouldnt move when I was making the bend.

Starting at one end I hammered lightly straight down on the material to get the bend started. Work gradually from one end to the other. No need to hammer very hard, the aluminum bends very easily.

As the material bends over I start hammering more and more with the mallet almost horizontal

To finish the bend I hammer the material against the flat edge of the table to make nice 90 degree bend.

The finished bend came out looking quite nice

I wanted the covers to wrap over the edges of the existing window well so that meant I need to bend down the edges of the cover 3 inches. The easiest way to do this was to mark the bend line with masking tape 3 inches from the edge. The nice even perforations in the metal made it really easy to get the masking tape in a straight line.

The bends were marked in this way on both ends of the material

I had to cut "relief" on both sides so that the ends would be able to bend down. This is done with metal cutting shears or tin snips. This is only 0.040 inch thick aluminum so it was not that hard to cut. A cheap pair of tin snips from the dollar store work fine for this.

Here is the fished cut.

Now I bring the material back to the bending table, this time using the end of the table and the first bend I made to position the well cover for the bends on the ends.

Back on the bending table, you have to bend that tab you just cut by hand so it is underneath the bend on the edges of the window well cover. You could also just cut the piece off, but I liked the look with it bent underneath.

Starting the next bend is the same procedure as for the first bend. Start off working vertical, hammering from one end to the other.

Then continue hammering horizontal from one end to the other.

The second bend turned out looking as nice as the first.

The finished window well cover. I still had to trim the bends with the tin snips to get them to sit flat on the uneven window well below.

All thats necessary now to find some hinges to attach the window well to the brick so that they can be flipped up to clean out the well or access the window.